

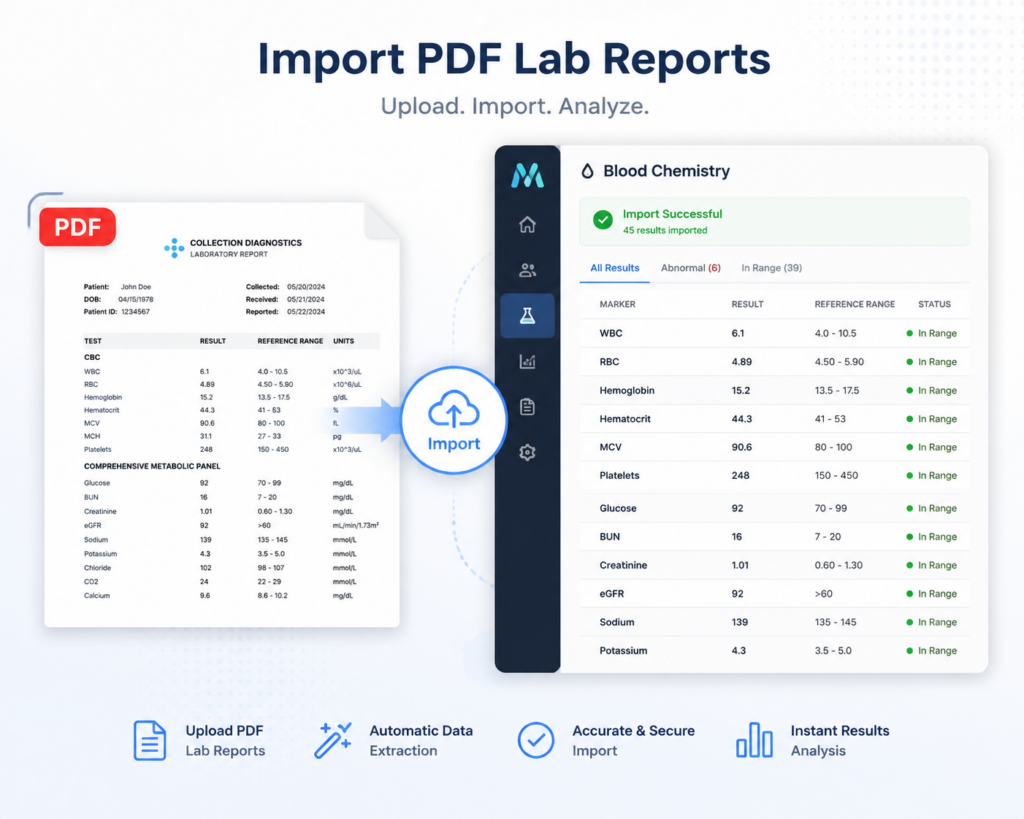
Lab Importing Options
The ability to automatically import your patient lab data into Maestro is an exciting integration, saving time and removing potential data-entry mishaps. Maestro offers several ways to import your patient lab data into the system:
- Evexia Diagnostics
- Professional Co-op Services
- Maestro’s Intelligent PDF Importer, a completely internal engine used to extract data from many various sources.
These features are exclusive to subscribers of our Maestro Complete Plus package. Although not required, it is recommended to have an account with a partner such as Evexia Diagnostics or Professional Co-op Services.
If you don’t already have an Evexia Diagnostics account and are interested, click here to register for one and don’t forget to utilize our partner promo code to get your $250 enrollment fee waived. At registration, use promo code: MAESTRO. CLICK HERE TO REGISTER! If you don’t already have an Professional Co-op Services account, CLICK HERE TO REGISTER! Restrictions may apply.
Import Lab Reports via an Integration Partner
Before you can utilize the automated services from our Integration Partners, Evexia Diagnostics or Professional Co-op Services, you must complete the setup processes on both the partner side and on the Maestro side. (Click Here for Integration Setup Instructions).
If you are already affiliated with an integration partner and the setup process have been completed, patient-related data (for a given patient) will automatically flow into Maestro, periodically throughout the normal business day, and be applied into the Patients Document folder.
There is no additional importing needed. The next step will be to apply the lab report to an evaluation (See: Applying Imported Data to an Evaluation).
See also: Data Import Disclaimer
Patient Documents Folder
Whether your patient data was automatically imported via one of our Integration Partners or directly into the system via Maestro’s Intelligent PDF Importer, documents for a specific patient will be housed within the Patient’s History, under the Documents Tab.
To navigate to a patient document folder:
- click on a patient name within the system (this will take you to the Patient History screen)
- click on the tab labeled Documents

What can you do from within the Document Folder?:
- import new document (See: Import using Maestro’s Intelligent PDF Importer)
- view original document (source)
- view Maestro extracted data (Lab Report)(only after a document has been applied to an evaluation)
- download
- emailed to patient
- delete
For each document, the date and time that it was added to the system, along with the file name and source from which it was added (such as Practitioner, Patient, Import), will be displayed.
Import using Maestro's Intelligent PDF Importer
Maestro’s Intelligent PDF Importer is available all the time, regardless if you do or do not have an account with one of our integration partners. This is helpful if you utilize other providers for which Maestro does not partner with, work directly with labs (such as LabCorp, Quest, etc.), or have patients bringing their reports from other entities.
- From within the Patient History, click on the Documents tab and then click + New Document
- From the system folder popup, select the desired PDF report to import
Your report will upload within a few seconds and then be listed with any other documents previously uploaded. Only PDF files are currently importable. If you have an HL7 file AND have the ability to convert it to PDF, you can convert it to PDF and import as normal.
See also: Data Import Disclaimer
- From within a Patient Evaluation, click on the Blood tab and then click “Import & Files”
- From the popup that appears, click on “drop New file here or click to upload”
- From the system folder popup, select the desired PDF report to import
Your report will upload within 30-45 seconds and and then display the results of processing showing data extracted from the import file.
- Review and Validate
- Patient Name
- Patient DOB
- Lab Name
- Collected Date
- Fasting (Y/N)
- Markers captured
- Click Confirm and then click Confirm again
- Close the pop-up window
- Data is applied to the Blood tab fields
Only PDF files are currently importable. If you have an HL7 file AND have the ability to convert it to PDF, you can convert it to PDF and import as normal.
See also: Data Import Disclaimer

Applying Imported Data to an Evaluation
Unless you directly import a lab report to an evaluation from within an evaluation, using Maestro’s Intelligent PDF Importer, Maestro does not assume and/or automatically apply lab data to an evaluation. Once data is imported, regardless of how it was imported, you will need to apply that data to an evaluation.
- From within a Patient Evaluation, click on the Blood tab and then click “Import & Files”
- From the popup that appears, click on “Add from documents”
- Select the desired file from the dropdown menu
- Files here will include any prior documents retrieved from one of our Integration Partners as well as any prior documents imported using Maestro’s Intelligent PDF Importer, regardless if the document has ever been applied to an evaluation.
- Click Add
Your selected file will process within 30-45 seconds and then display the results of processing showing data extracted from the selected file.
- Review and Validate
- Patient Name
- Patient DOB
- Lab Name
- Collected Date
- Fasting (Y/N)
- Markers captured
- Click Confirm and then click Confirm again
- Close the pop-up window
- Data is applied to the Blood tab fields
See also: Data Import Disclaimer
Data Import Disclaimer
Imported healthcare data (HL7 files, PDF lab reports, EHR API integrations) may contain inaccuracies, incomplete information, or mismatched records during format conversion and data reconciliation in Maestro. Data without a valid EHR identifier is not imported. Possible issues include:
- Units or formats converting incorrectly during data transformation
- Field mapping errors during format transformation
- Missing or truncated data from source systems
- Human error during manual import (e.g., uploading to wrong patient profile)
- Human error during patient setup (e.g., adding a patient ID to the wrong patient profile)
Before clinical use, all imported data must be verified against original source records. Do not rely solely on imported data for patient care decisions.
- Always validate the name on the imported data matches the intended patient
- Always validate the gender matches the intended patient
- Always validate the DOB matches the intended patient (provided the DOB was in the system prior)